


Proper Tesla headlight alignment is crucial for safety and visibility. Replacing bumper or hood components requires consideration of their impact on alignment, as these parts work together to maximize illumination. Misalignment poses blindness risk to other drivers and increases accident probability. Specialized tools and expertise are needed to maintain Tesla's advanced lighting systems' optimal beam patterns after repairs, emphasizing interconnected car component relationships.
After bumper or hood replacement on your Tesla, proper realignment of headlights is crucial for safe driving and optimal light distribution. This guide breaks down the process, from understanding the basics of Tesla headlight alignment to a step-by-step realignment procedure. Learn what to expect during bumper/hood replacements and ensure your vehicle’s headlights function at their best, enhancing visibility on the road.
- Understanding Tesla Headlight Alignment Basics
- Bumper/Hood Replacement: What to Expect
- Step-by-Step Guide for Realignment
Understanding Tesla Headlight Alignment Basics

Understanding Tesla Headlight Alignment Basics
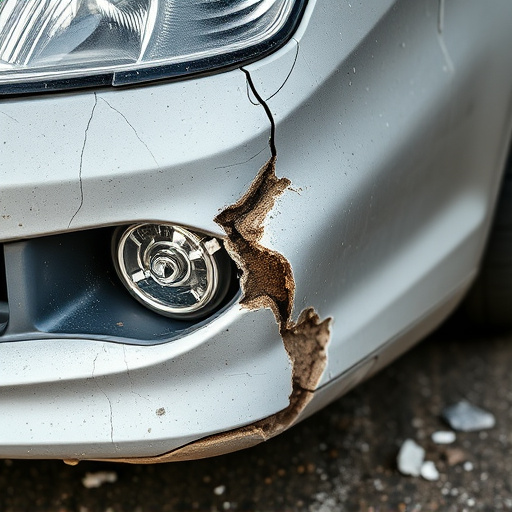
In a Tesla vehicle, proper headlight alignment is crucial for optimal visibility and safety while driving. The headlights play a significant role in illuminating the road ahead, ensuring drivers can navigate effortlessly, especially during night drives or low-visibility conditions. When replacing a bumper or hood, it’s essential to consider the impact on headlight alignment, as these components are designed to work in harmony to provide maximum illumination. Any misalignment could result in blinding other drivers, reducing visibility, and potentially leading to accidents.
Tesla’s advanced lighting systems utilize precise optics and sophisticated software to achieve optimal beam patterns. The headlights are calibrated to project light evenly across the road surface, avoiding blind spots and ensuring a clear view of obstacles or turns ahead. Auto repair services specializing in Tesla vehicles understand the intricacies of headlight alignment, employing specialized tools and expertise to ensure that replacement parts fit perfectly and maintain the intended light distribution. This meticulous process is key to preserving the safety and performance features that make Tesla vehicles stand out on the road.
Bumper/Hood Replacement: What to Expect

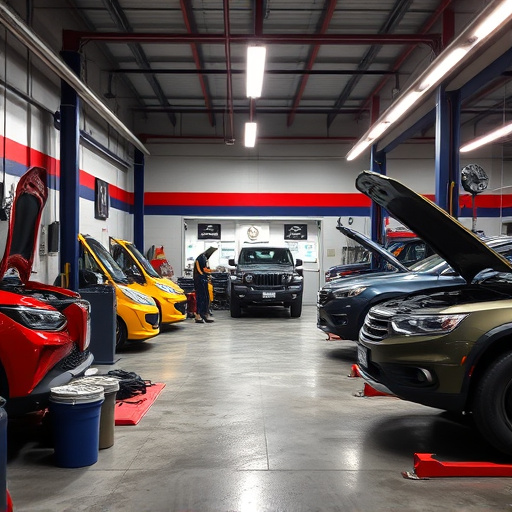
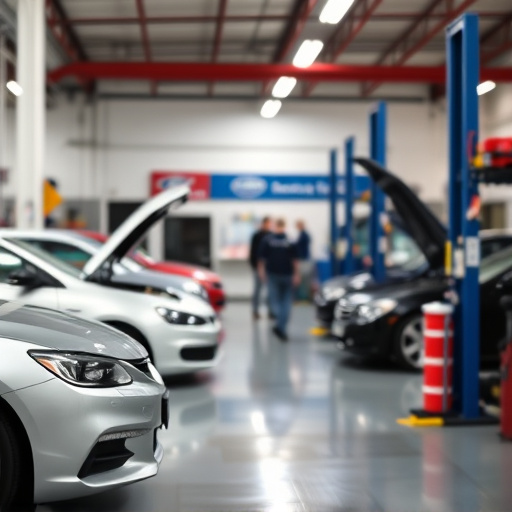
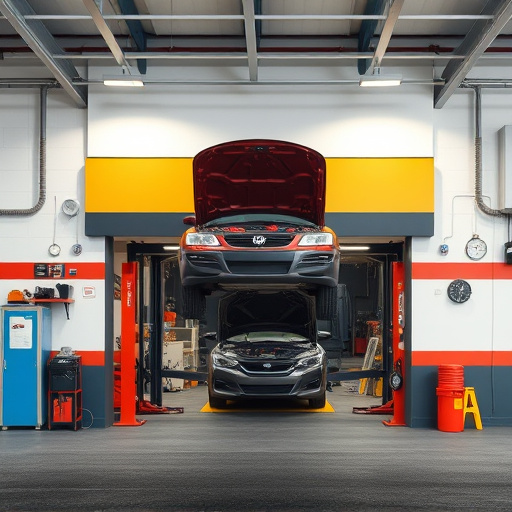
When it comes to replacing a bumper or hood on your Tesla, there are several things to consider beyond simply acquiring the parts. The process itself involves intricate automotive procedures, especially when addressing the critical element of Tesla headlight alignment. After all, these vehicles are known for their advanced lighting systems designed to enhance safety and visibility.
During a bumper or hood replacement, auto glass replacement might also be part of the equation if damage extends to windows or side mirrors. Fleet repair services often encounter such scenarios, where repairs extend beyond the initial impact zone due to interconnection between car components. Proper car damage repair ensures not just cosmetic restoration but also optimal functionality, particularly regarding Tesla headlight alignment. This precision work is essential for maintaining the vehicle’s illuminated perimeter, which has become a defining feature of modern automotive design.
Step-by-Step Guide for Realignment

Realigning Tesla headlights after a bumper or hood replacement is crucial for safe and effective lighting during your drives. Here’s a step-by-step guide to help you through the process, ensuring your vehicle’s lights are perfectly aligned.
1. Safety First: Before beginning, ensure your vehicle is parked on a level surface with all necessary safety gear in place. Turn off the ignition and engage the parking brake for added security during the realignment process.
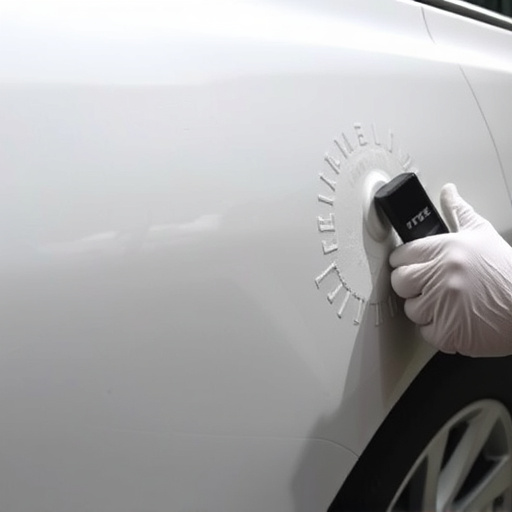
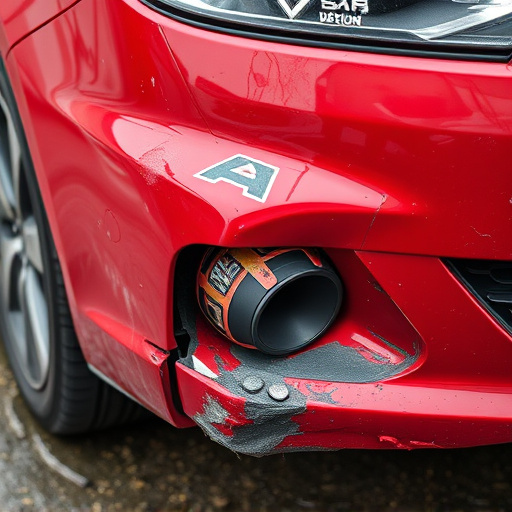
2. Inspect the Headlights: Examine the headlights and fenders to identify any signs of damage or misalignment from previous repairs, such as hail damage repair or car paint services. This will give you a baseline for comparison after adjustments.
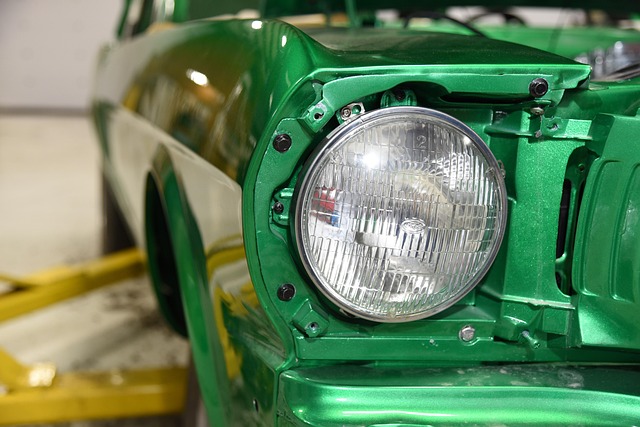
3. Use Alignment Tools: Tesla provides specialized tools for headlight alignment. These tools include laser or digital sensors that detect precise angles and positions. Alternatively, if fender repair has been done recently, check with the mechanic for any remaining equipment from their work.
4. Adjust Headlight Angles: Begin by adjusting the vertical and horizontal aim of each headlight. Use the alignment tools to set them to Tesla’s recommended specifications. This ensures optimal beam pattern and road illumination.
5. Check Beam Pattern: After making initial adjustments, test the headlights on a dark area to verify their beam patterns. Ensure there are no shadows or overlaps that could indicate further realignment is needed.
6. Fine-Tune as Necessary: Make incremental adjustments until both headlights project clear, even beams without any distortions or off-centering. This meticulous step ensures optimal safety and driving conditions.
After replacing your Tesla’s bumper or hood, it’s crucial to realign the headlights to ensure optimal visibility and safety on the road. This process is not as complex as it seems, and with the right guide, you can effortlessly achieve precise alignment. Remember, a well-aligned headlight system not only enhances your driving experience but also contributes to the overall aesthetics of your Tesla. So, whether you’re a professional mechanic or an enthusiastic DIYer, understanding and mastering Tesla headlight realignment is a valuable skill.